How to Build a Small Form Factor Gaming PC That Can Fit Anywhere
When you think of a “gaming PC,” chances are you picture a tricked-out desktop tower the size of a large sock drawer. But why waste that much space? With a Mini-ITX motherboard and the right case, you can build a tiny PC that fits just about anywhere, without sacrificing on power.
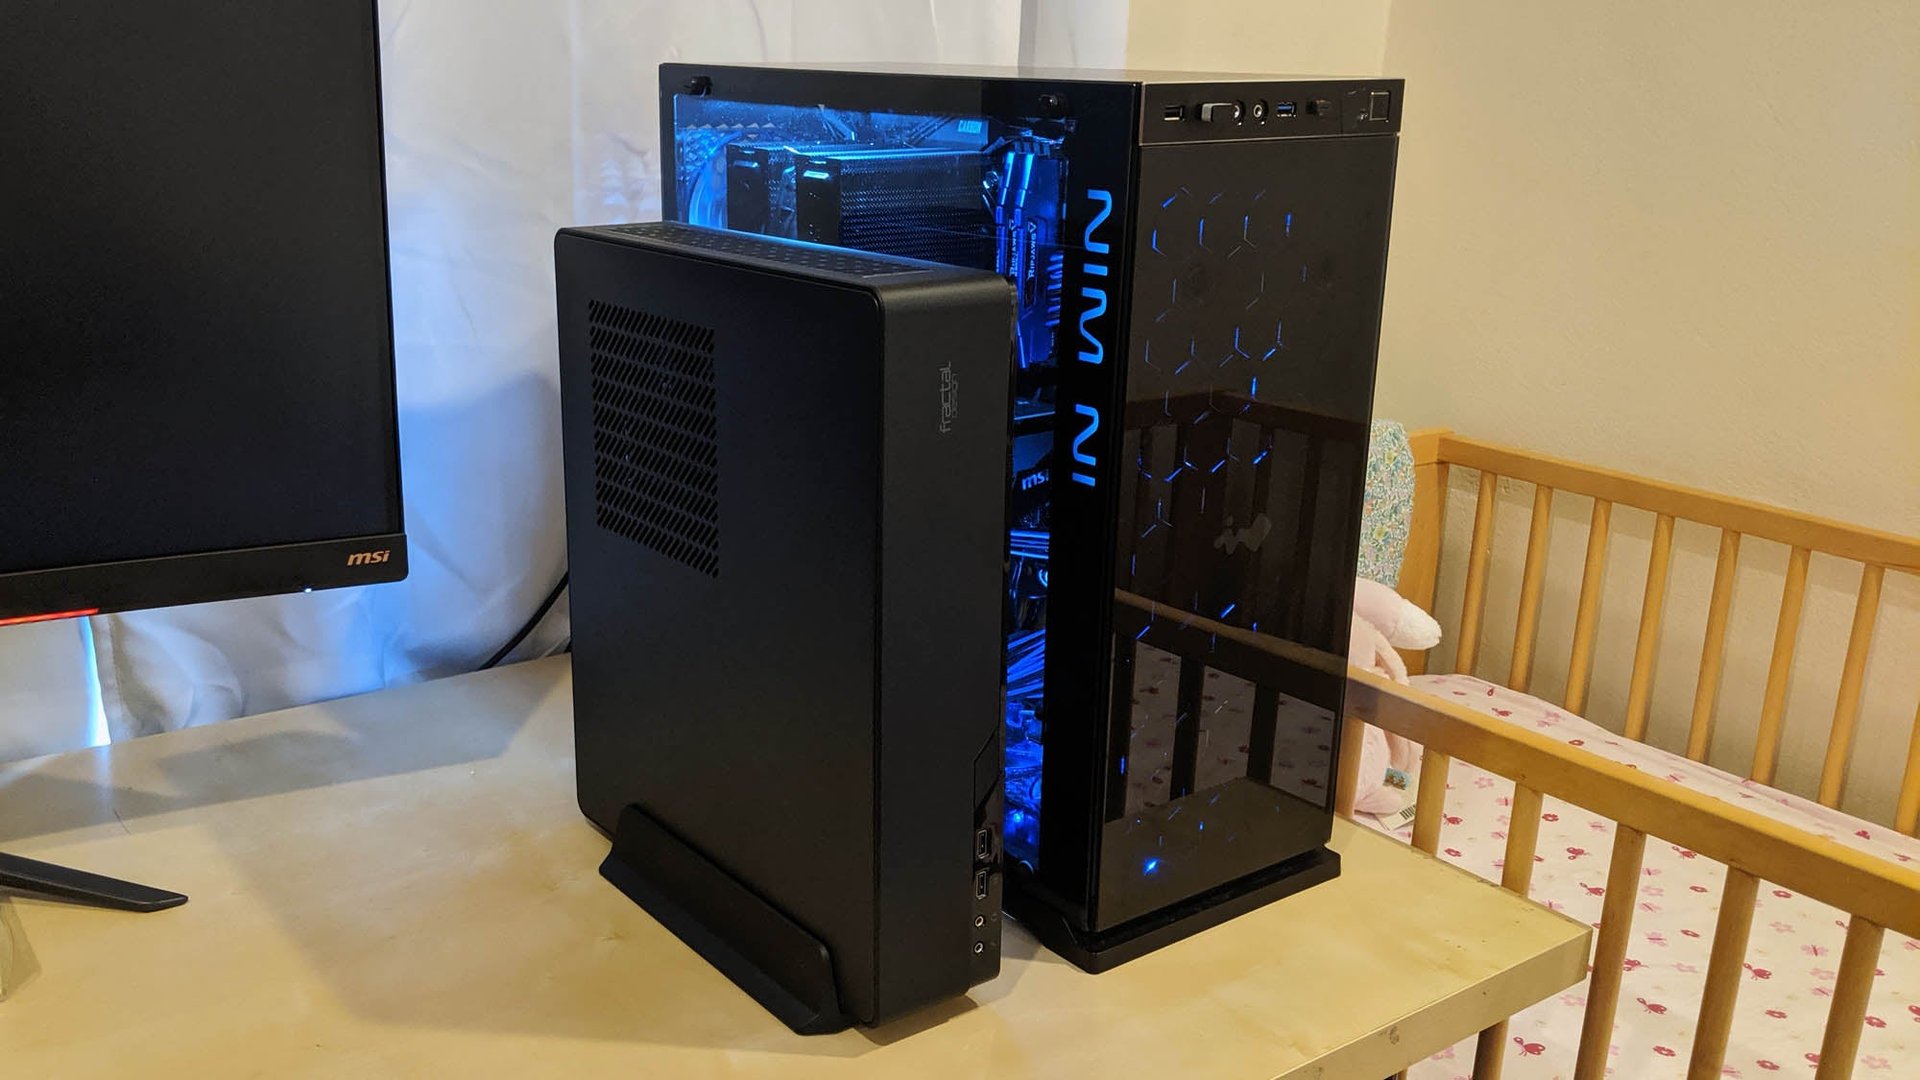
When you think of a “gaming PC,” chances are you picture a tricked-out desktop tower the size of a large sock drawer. But why waste that much space? With a Mini-ITX motherboard and the right case, you can build a tiny PC that fits just about anywhere, without sacrificing on power.
Suggested Reading
“Small form factor PCs” have grown in popularity the past few years, even spawning their own tight-knit communities rallied around building the smallest possible machines. These communities generally define small form factor as having a volume of 20 liters or less, and while you can’t fit every configuration into that small a space, you can build most consumer-level gaming PCs in this form factor without too much trouble. I’ve built quite a few over the years, and after building the most recent iteration of my living room gaming PC, I felt the undeniable urge to evangelize.
Related Content
We’re not going to detail the basics of building a PC in this guide—I’ve done that before over at Lifehacker, and while a bit old, most of those tips are still relevant today. Instead, we’re going to focus on what makes small form factor PCs different, what to look for when you buy your parts, and a few tips for making things go smoothly.
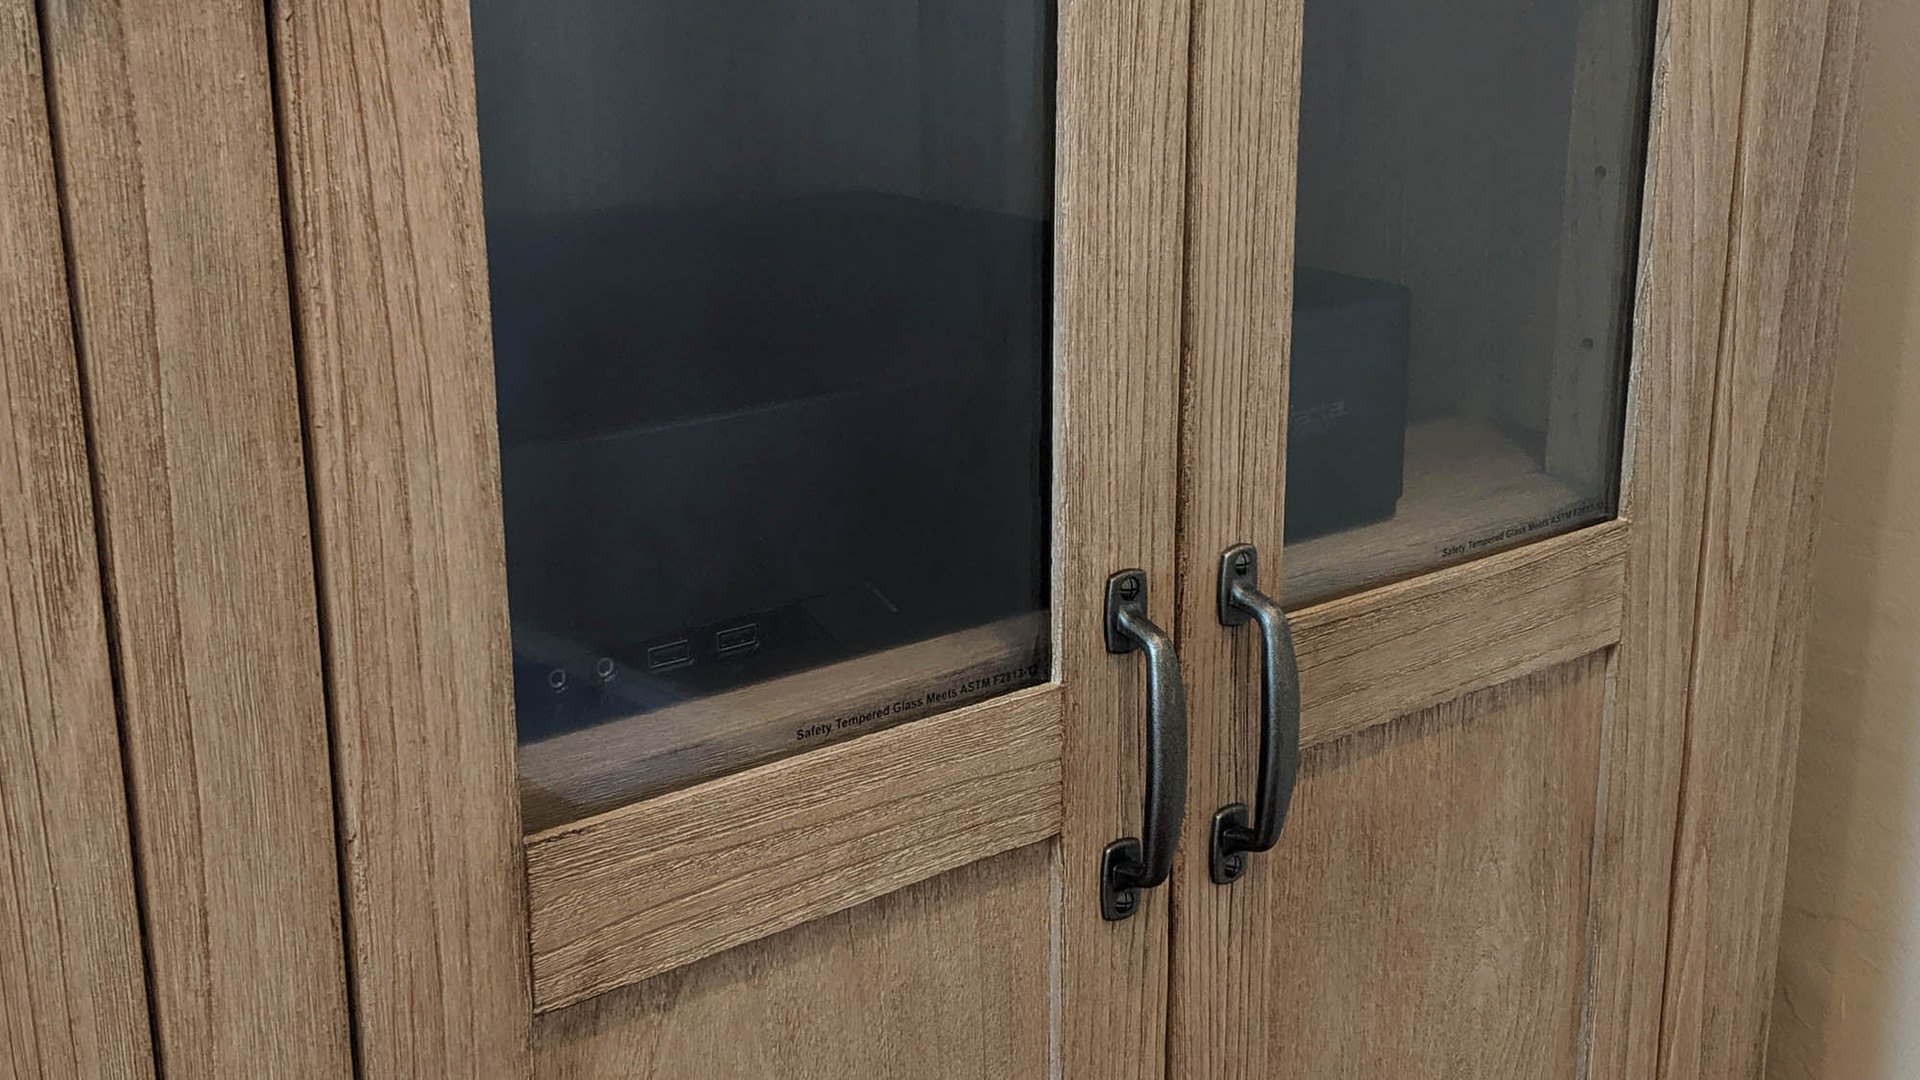
Picking a case is, by far, the most difficult, important, and enjoyable part of building a pint-sized PC. You have a ton of variety to choose from, not just in style, but in size shape. There are “cube” cases like the Thermaltake Core V1 and Silverstone SG13, which are great for putting on a desk. There are “flat” cases that can lay in an entertainment center or stand up on end, like the Fractal Design Node 202, Silverstone RVZ01, or Silverstone ML08. And there are mini desktop cases like the Cougar QBX. All of these are significantly smaller than a typical mid tower case, while still being spacious enough that building in them isn’t too hard—Fractal Design graciously lent me a Node 202 to use for this particular guide, and I was shocked at how easy it was to build in compared to other Mini-ITX cases I’ve used in the past.
If you really want to go tiny, though—which requires a bit more perseverance and money—boutique manufacturers offer some of the best sub-10L cases on the market, like the venerable NCase M1, Ghost S1, and Dan Case A4-SFX—not to mention the impossibly small NFC SkyReach 4 Mini, which is barely larger than a PS4. And frankly, this list just scratches the surface of what’s available.
Each of these cases has their own unique benefits and challenges, especially when it comes to cooling (which we’ll talk about in a moment). Pick a couple cases you like the look of, and poke around forums like /r/sffpc and SFF.network to see what you’re in for. Ultimately, it’s all about buying what you think looks good and what fits in your space, just know that the smaller you go, the more patient you’ll have to be with the build. I’ve been building PCs for almost a decade and these Mini-ITX projects still trip me up sometimes.
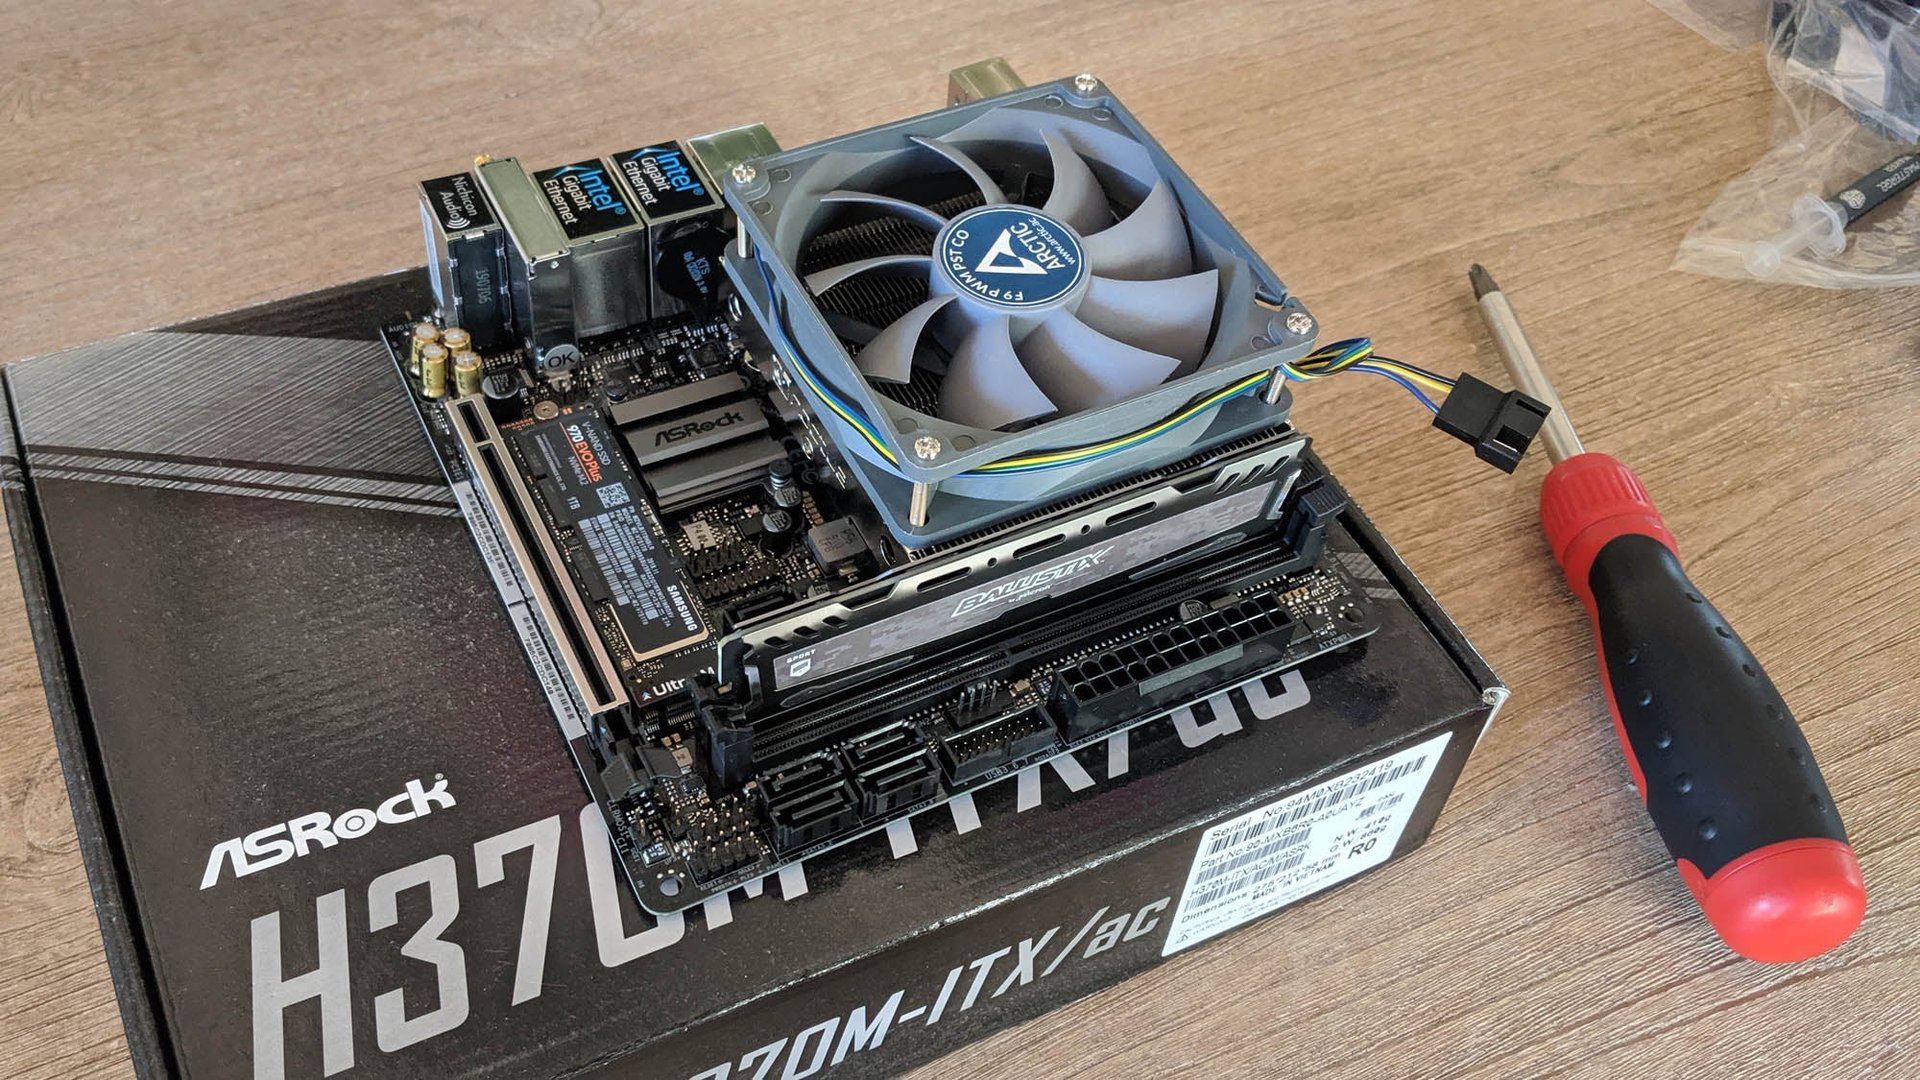
Picking the brains of your PC is actually the easiest part of the process, since it’s not that different from doing so on a larger PC. If you’re going balls to the wall with your processor and graphics card, you may want to do some research about what kind of heat your particular case can handle, but if you’re building a somewhat reasonable machine, you shouldn’t need to worry too much—buy the CPU that meets your needs.
I went with an Intel i5-9400F since I’m mostly using this PC for casual gaming and VR, but you could go as high as an i5-9600K or AMD Ryzen 5 3600 in most small form factor cases without issue. If you’re building more of a home theater or emulation machine and don’t need a dedicated GPU, an APU with integrated graphics like the Ryzen 3 3200G would be perfect.
Motherboard and RAM is similar—buy what works for your needs and is compatible with your CPU. I went with an ASRock H370M-ITX/AC to go with my i5, and a stick of Crucial Ballistix Sport RAM. Just make sure you don’t get blinged-out memory with huge heatsinks, since they might cause clearance problems with certain CPU coolers. For storage, I recommend going with an M.2 drive like the Crucial MX500 or Samsung 860 EVO, since they attach directly to the motherboard and take up no extra space. You could go with a regular 2.5-inch drive, and many of the above cases do have mounting points for them, but that requires routing more cables. Plus, some cases may limit the GPU or other parts you can use if you use their SSD mounts. If you have to have a spinning hard drive for cost or space reasons, definitely go with a 2.5-inch laptop drive rather than a 3.5-inch behemoth.
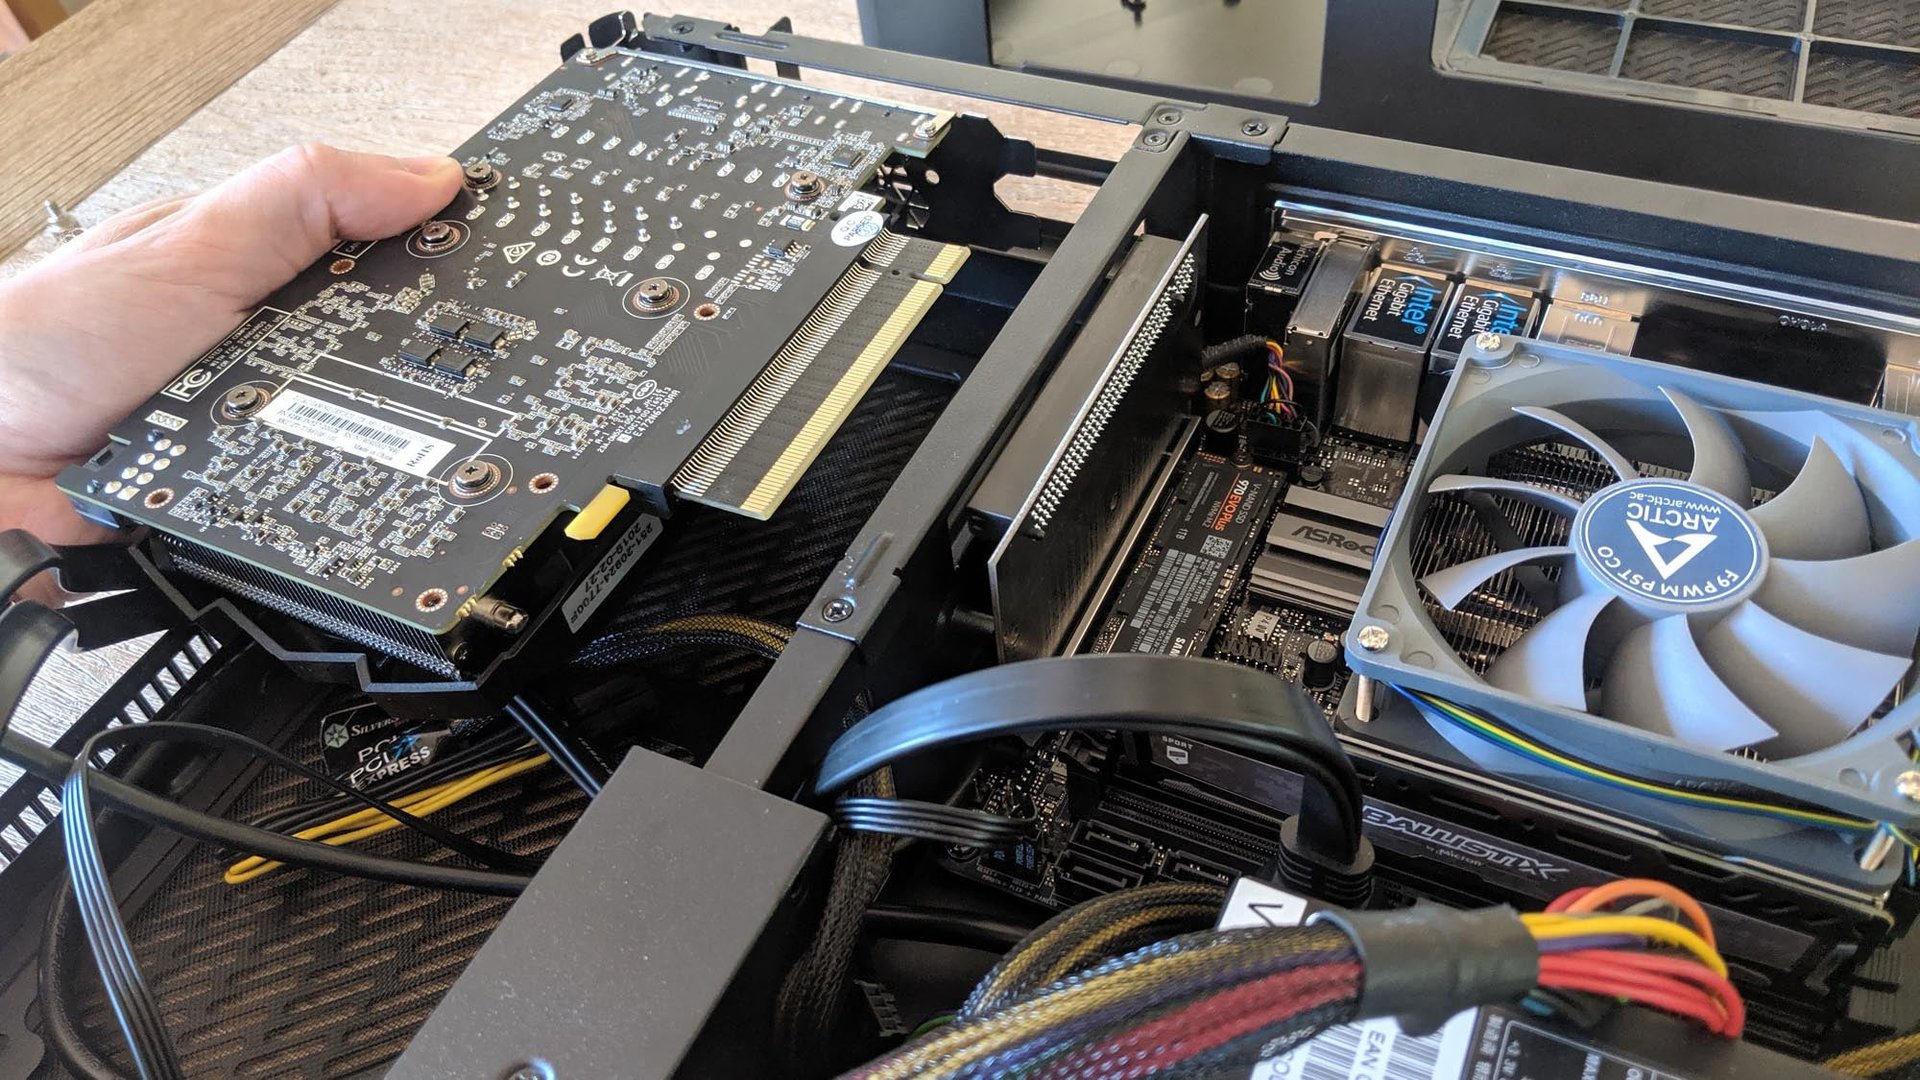
If you’re aiming to do some real PC gaming, you’ll probably want a dedicated graphics card in your mini machine—but graphics cards are much bigger than they used to be. So check your case’s spec sheet and see the maximum graphics card length it supports. Plenty of Mini-ITX cases can fit “full size” dual-slot graphics cards, but some may require you to remove drive cages, fans, or other features in order to do so. In those situations, “mini” graphics cards are a great alternative. Honestly, even if you have the extra space, mini cards provide you a bit more room for building and cable management, which can be nice.
The bigger consideration is what style of cooling your card uses. GPUs tend to come in two main cooling flavors: “blower” style coolers, which use a closed shroud to push air out the back of the case, and “open” coolers, which tend to have less noise but also recirculate hot air within your case. Cooling is especially crucial when you’re cramming a bunch of hardware into a tiny case, which is why many small form-factor enthusiasts recommend blower style cards—they ensure hot air gets exhausted out the back instead of blown around inside.
You can, however, still go with an open air cooler if you’d prefer to have less noise (or you can’t get a blower-style cooler on the card you want). You just have to be a bit more careful about your cooling setup. Add some case fans near the card to suck cool air in from the outside, and choose a card with fins aligned horizontally rather than vertically, so some of that air gets directed out the back of the case instead of toward your other components. My Node 202 can fit a full-size card, but I chose a Zotac GTX 1660 Ti to give myself a bit more room for cable management and any extra peripherals I may want to stuff in later on.
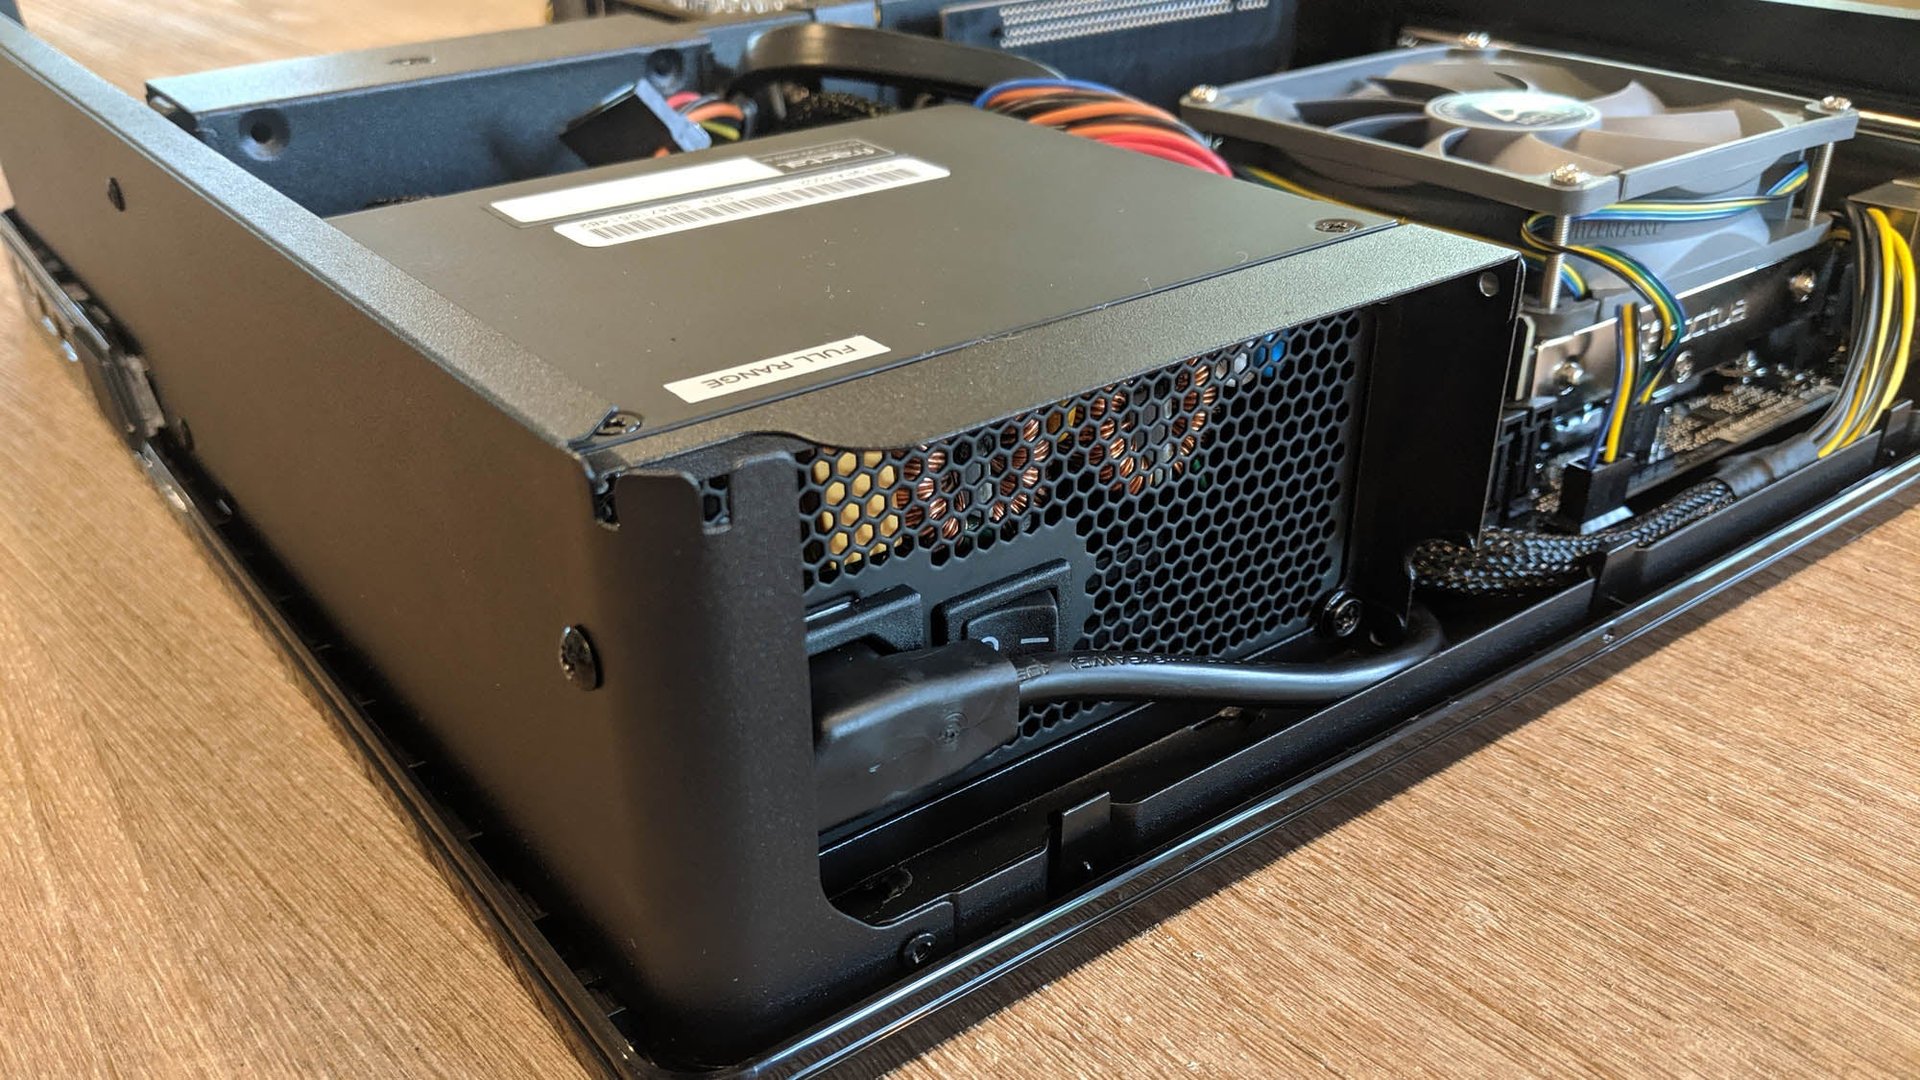
Depending on the case you get, buying a power supply may be simple...or it may open up a whole new world of craziness.
Many cases, including the Node 202 I used in this build, support SFX power supplies, which are very similar to their ATX brethren—just a bit more compact. You’ll find some budget options out there, like the Silverstone ST30SF and ST45SF-V3, but for a small form factor build, I can’t recommend modular power supplies highly enough—you’ll be able to remove any cables you don’t need, reducing clutter and making your build a heck of a lot easier. Corsair’s SF450 and SF600 are good choices.
As cases get smaller, though, power supplies are one of the first things to shrink. Some may use a Flex-ATX power supply like the FSP500, though these usually aren’t modular and can be very loud, leading some folks to replace the 40mm fan inside with something quieter. Other folks eschew an internal power supply altogether, instead using an external laptop power brick with an HDPlex DC-to-ATX converter connected to the internal components. You can see how this gets a bit complicated—if you opt for a case that requires something like this, just do your due diligence before you buy. Research what others recommend for your setup, use a power supply calculator to make sure you get enough wattage, and don’t skimp on quality. Power supplies may be boring, but they’re very important, and it’s not a place to cheap out.
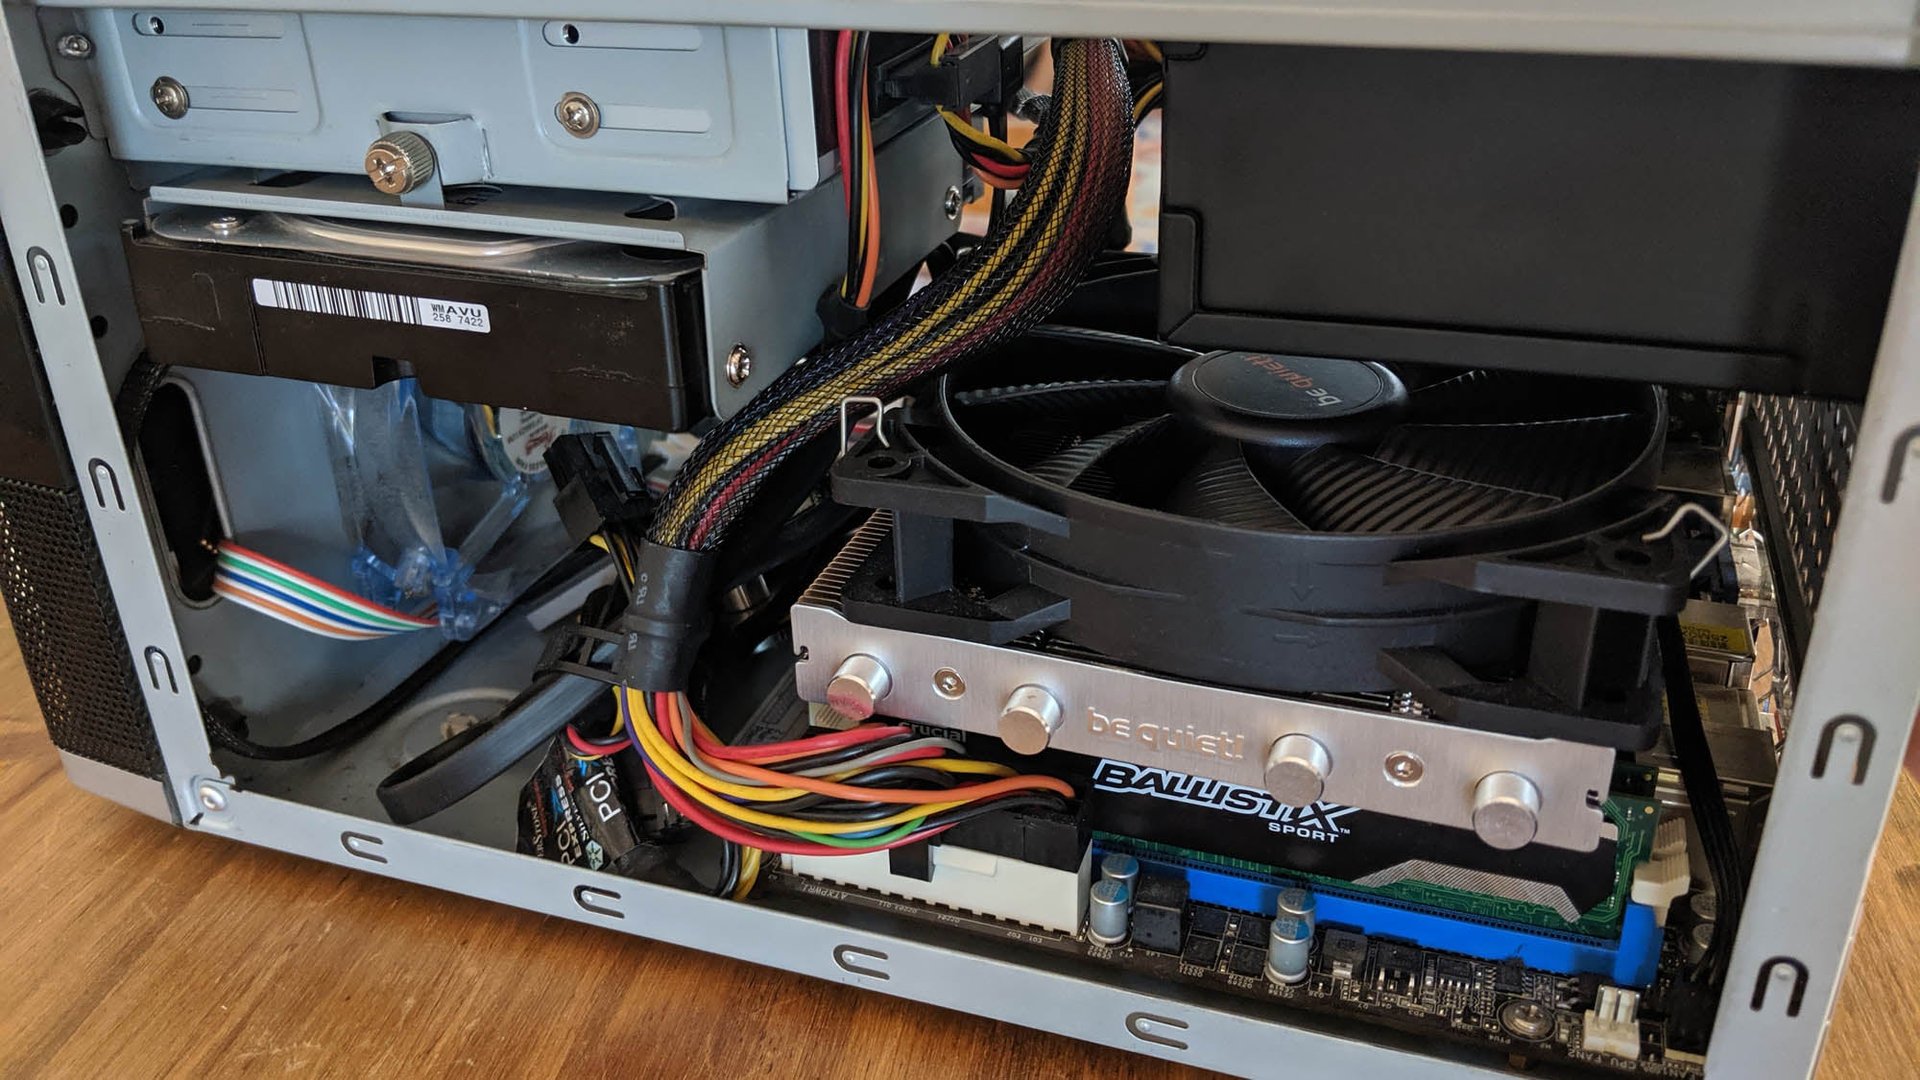
Finally, let’s talk about cooling. You’re stuffing an awful lot of hardware into a small space, which means you’ll need to take a bit more care with your fans than you would in a normal-sized build.
For your CPU, the stock cooler may very well fit, but it’ll be awfully loud. You’re usually better off with a low-profile CPU cooler like the Be Quiet Shadow Rock LP, Scythe Big Shuriken 3, or (for a super slim heatsink) the Noctua NH-L9i/L9a, depending on the clearance you have in your specific case. There are a surprising amount of low-profile coolers on the market, so check the clearance spec for your case and shop around. Some cases might even be able to fit a small all-in-one liquid cooling loop like the Corsair H60. Your CPU cooler will be very dependent on your case and your CPU’s TDP, so again, it may help to see what others have done in their own builds.
Finally, not all Mini-ITX cases come with fans built-in, so you may want to add a few case fans to your arsenal to aid in cooling. Standard 120mm fans like the Noctua NF-F12 may work fine in some cases, but chances are you’ll want something a bit slimmer, like the Noctua NF-A12x15 (for 120mm mounts) or NF-A9x14 (for 92mm mounts). Look up the ideal configuration for your case and go to town.
Putting It All Together
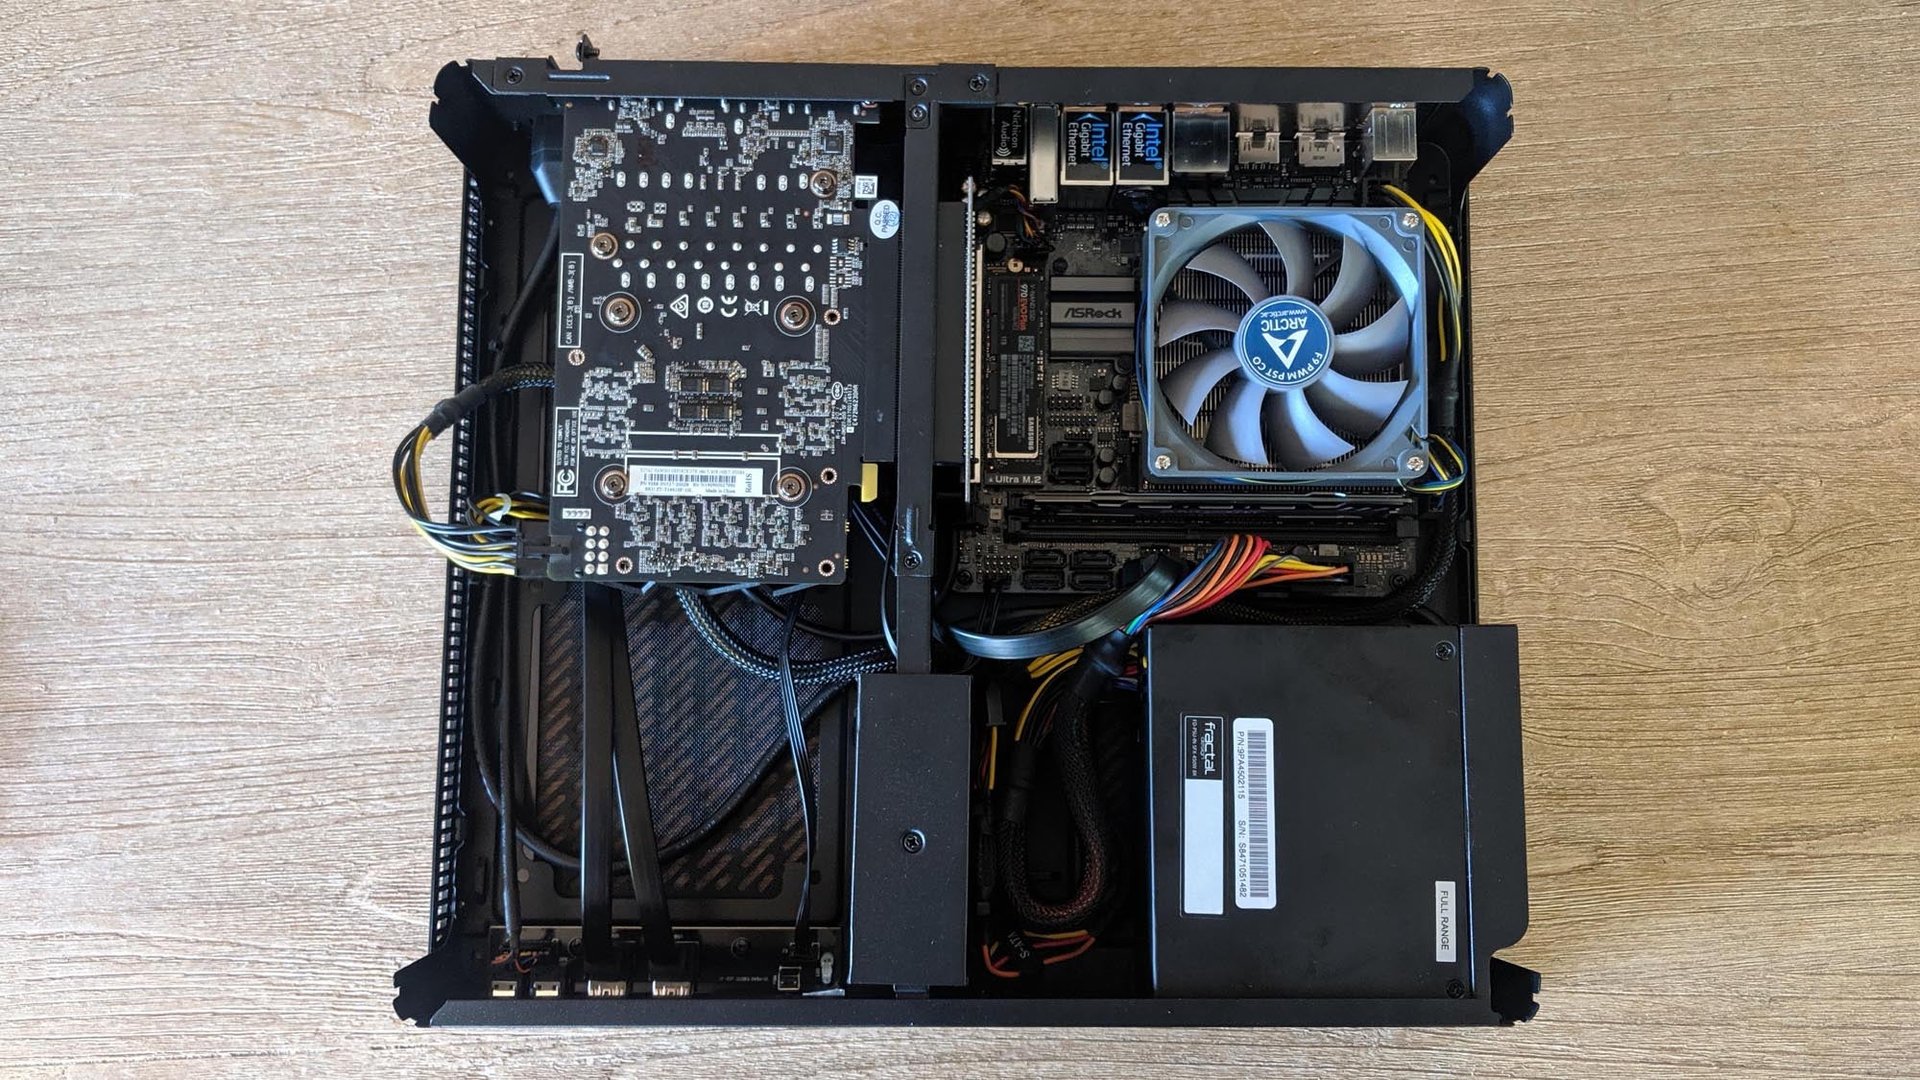
Again, we’re not going to do a full-on PC building guide here (this has gotten long enough already), but after doing quite a few of these myself over the years, here are some tips I’ve found helpful:
- Build and test your hardware outside the case first. Do you hear me? Build outside the case first. This has been standard PC building advice for years, but it’s even more useful for small form factor builds—they take longer, they’re more frustrating, and if you spend all day building the thing only to find your motherboard was dead on arrival, you’re going to curse yourself. Build outside your case first and make sure the machine POSTs.
- Many mini cases are split up into “chambers,” with one housing your motherboard, and another holding your graphics card (thanks to a PCIe riser that usually comes with the case). Take a step back and plan out your build before you start popping things in—you may have to build in a different order than you’re used to so everything fits properly (not to mention so you can manage your cables along the way).
- Give yourself an extra hour or two, if not more, to build. You’re bound to run into some snags, and you may find yourself having to pull some stuff out just to re-build in the correct order, or to re-route your cables multiple times. In fact, you may even find you bought a combination of parts that doesn’t fit in your case—don’t worry, it happens to the best of us—and you have to wait a couple days for Amazon to ship you something else.
- Zip ties are your friend. If your case doesn’t come with some, grab some separately to help manage your cables. Even if you don’t care about how it looks, you may have to zip tie cables to certain parts of the case to keep them from interfering with spinning fans.
- Once you’re finished installing Windows, be sure to monitor your temperatures closely for the first few days. Again, this is pretty good advice for building any PC, but it’s especially important for these smaller builds. I like MSI Afterburner for monitoring CPU and GPU temperatures during games, though apps like HWiNFO are great on the desktop, too.
Believe it or not, this is the short version of this guide. Building a Mini-ITX rig is far more complex than building a normal-sized PC, but it’s well worth the effort if you’re short on space or just want the bragging rights of kicking the ass of computers twice its size. Do your research, choose your parts carefully, and don’t get discouraged—you’ll be mighty proud of the final result.
