Perfect Your Surround Sound Setup with These Level Calibration Tools
A 5.1 (or ) speaker system can be a total game-changer for movies and video games.

Featured Product: Gain Express Professional Sound Level Meter | $39 | Amazon
Suggested Reading
A 5.1 (or higher) speaker system can be a total game-changer for movies and video games. But if you just plugged in that soundbar and went to town, or hooked your speakers up to a receiver without digging into the settings, there’s a good chance your speakers are not tuned properly.
Related Content
Without setting the levels, you won’t hear the audio as it’s really intended. Instead of the subtle, perfectly-balanced surround effects a movie calls for, you’ll either hear weird background noises blasting your eardrums from behind—to the detriment of what’s happening on screen—or they’ll be too subtle, making you feel like you invested in surround sound for nothing. This is probably the biggest mistake I see people make when they buy a 5.1 soundbar—you have to set your levels!
There are two main ways to get those levels right: using the auto-calibration feature on your receiver (if it has one), or manually using an inexpensive sound level meter.
Auto-Calibrate Your Speakers Using Your Receiver
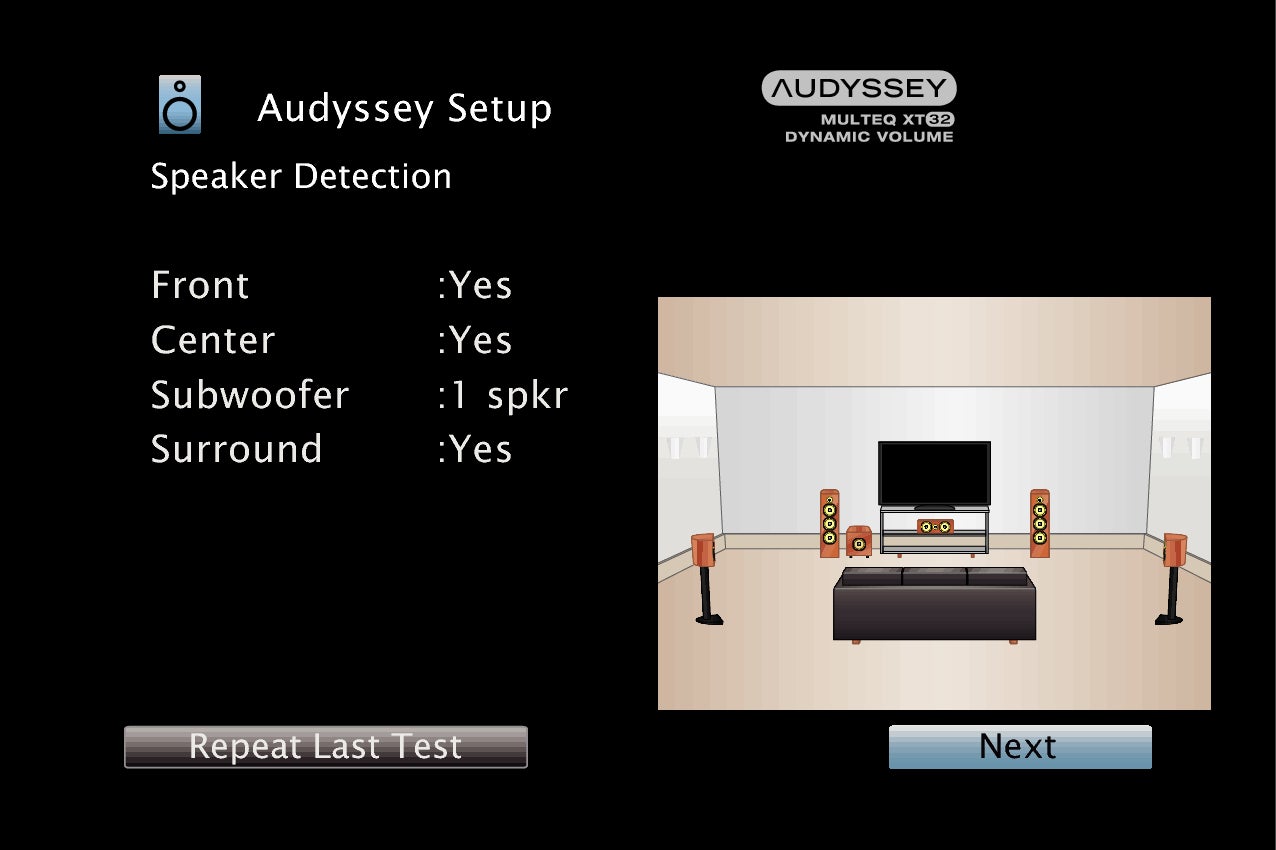
Many home theater receivers come with an auto-calibration setting built-in. Denon receivers use Audyssey, Yamaha receivers have an in-house option called YPAO, Pioneer receivers call theirs MCCAC, and so on. Home theater enthusiasts have debated the merits of these systems for years, with some getting more love than others—and some receivers getting more or less advanced versions of the same tool. So what you get can vary wildly depending on the receiver you have, as well as the speakers and room you’re working with. Still, if you have it available, I think it’s a good first step, since it’ll not only set the volume levels for each speaker, but attempt to do some room correction through an equalizer, phase control, and other tweaks to cut down on reflections. (Though you can turn that other stuff off if you want later.)
Your receiver should have come with a small microphone to perform this setup. If it didn’t—or if you, like me, lost it long ago—you can often buy them on Amazon, though it may take a bit of hunting to find the right one for your receiver model. Be sure to check the product description before you buy.
Going through the actual setup process is pretty easy: plug in your microphone and open the receiver’s settings. (In my case, when I plugged in the microphone, it automatically jumped into the room correction menu.) You want to place your microphone in the main central listening position, at ear level—I used a tripod to get mine in the right spot, but you can use anything you have on hand. Just don’t place it flat on the couch, since you won’t get the right calibration.

The wizard will likely ask you to set how many speakers you have, and in what configuration you have them set up. If it asks you whether your speakers are Large or Small, you’ll want to choose Small in almost all scenarios—as long as you have a subwoofer, that is. Tower speakers can technically be set to Large, but most home theater experts recommend against this. (If it doesn’t ask you this during setup, you can adjust it from your receiver’s menu after the fact.)
From there, just follow the on-screen instructions. It should do most of the heavy lifting, and you should get out of its way and try not to make any noise. When it’s finished, it may offer you the option to calibrate a second or third seat, which you can do if you like. You may want to peruse your receiver’s manual for more information on how its specific calibration tool works.
Finally, take some time to put your new system through its paces. Remember, this does a lot more than just tweak the volume levels of each speaker—it often applies equalizer settings that can be really great, or really muck things up, depending on a number of factors. So try music and movies with the EQ settings on and off for a few days and see which you like better. You can usually adjust this in your receiver’s menu.
Manually Set Your Surround Levels with an SPL Meter
There are a few situations in which you may want to take a more manual approach to your surround levels. First, if you have a soundbar, you’ll probably have to set the surround levels by hand, since most don’t come with an auto-calibration feature. Second, even if your receiver comes with one of the auto-calibration wizards mentioned above, many home theater enthusiasts recommend checking the levels manually so you can fine-tune anything your receiver might have missed—or just doesn’t sound right to your ears.
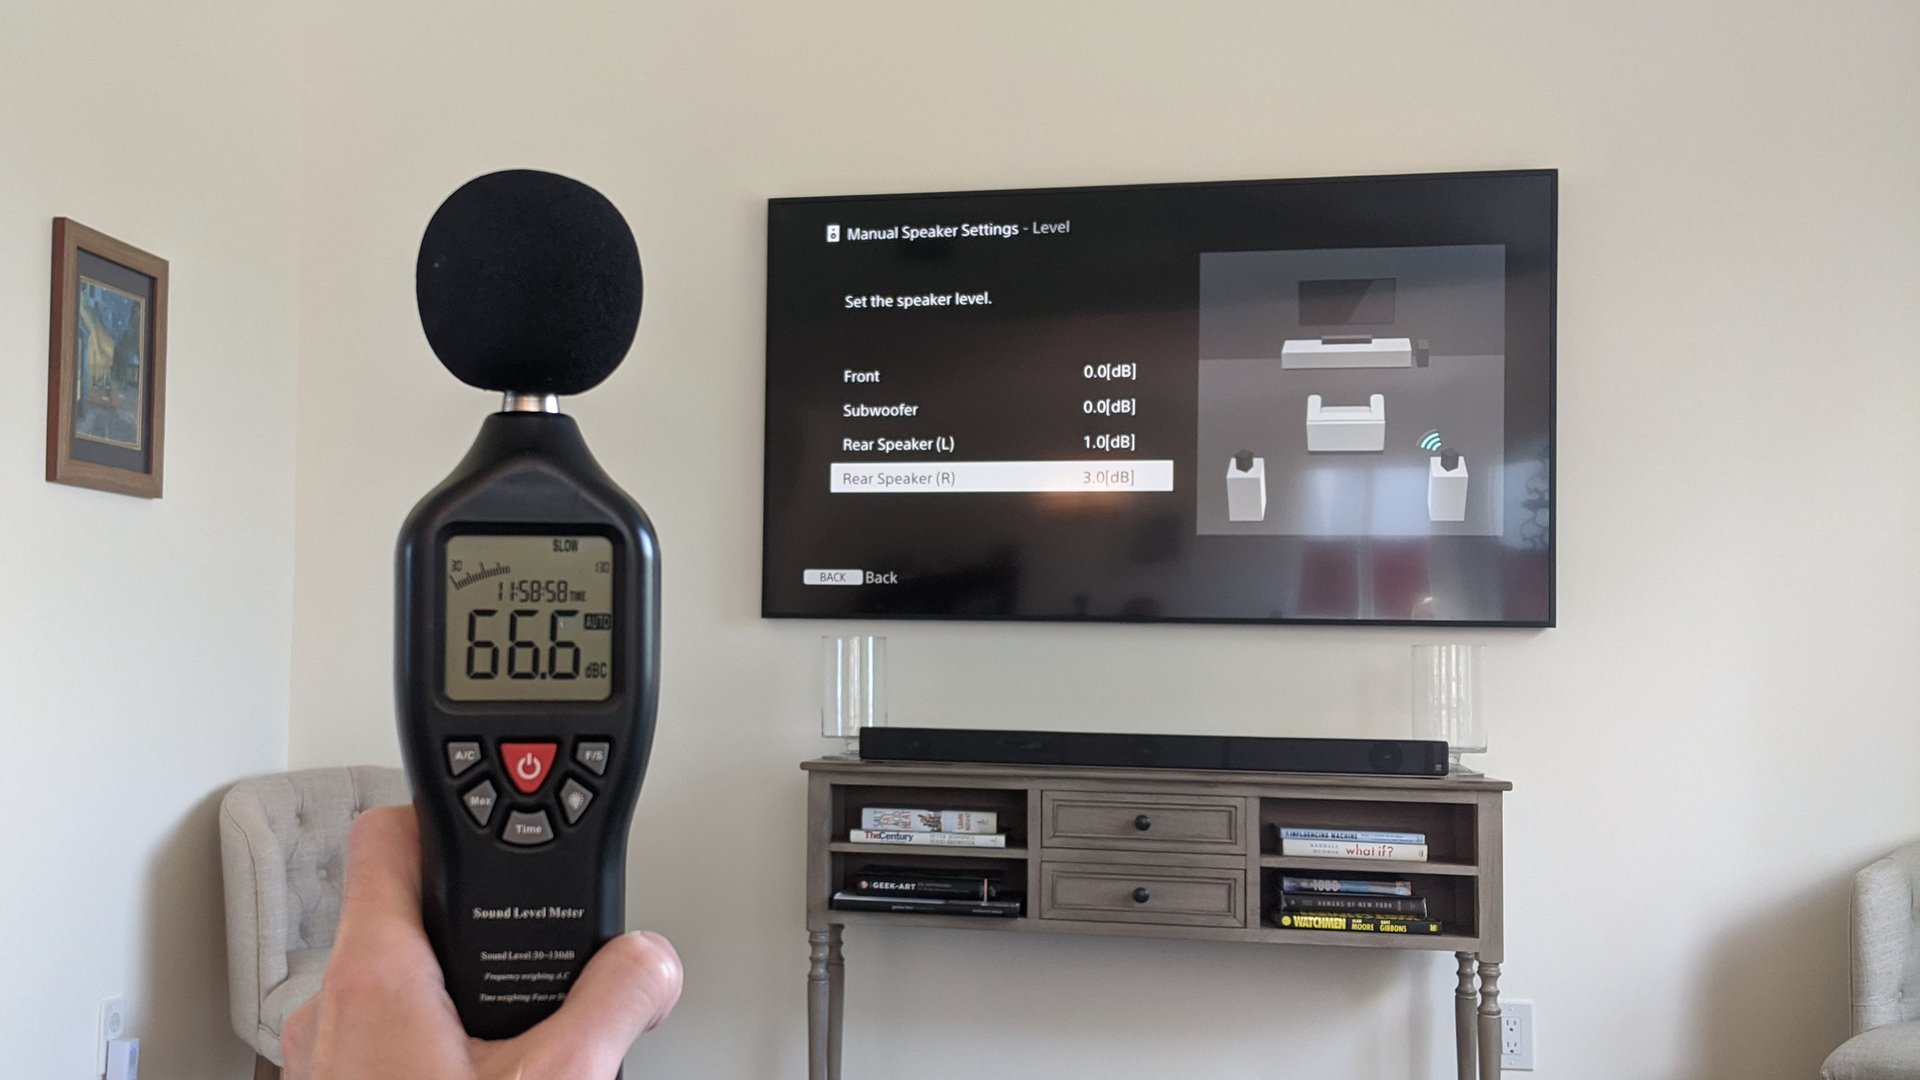
To do this, you’ll need an SPL meter. I used this one from Gain Express, though there are plenty of others out there—just make sure you get one that can do C weighting (not all of the cheaper ones can).
Once you’ve got that handy, fire up your receiver or soundbar and head to its speaker level settings. Most should be able to output a test tone while you adjust the speaker levels, but if not, you may need to play some pink noise through the system manually.

Turn your SPL meter on and set it to “C” and “Slow” using the buttons. Place the microphone face up, at ear level, at the central listening position—using a tripod if you can—and play a test tone for each speaker. Raise the master volume of the receiver until the SPL meter reads about 75 dBC (it’ll jump around, but you’ll just have to try to get it as close as you can). Go through each speaker, adjusting each to hit the same level on your SPL meter, including your subwoofer. Movies were designed assuming each speaker in the system can hit the same volume level from the same signal, so this will ensure loud sound are loud, and subtle sounds are subtle—without one of your speakers overpowering the others.
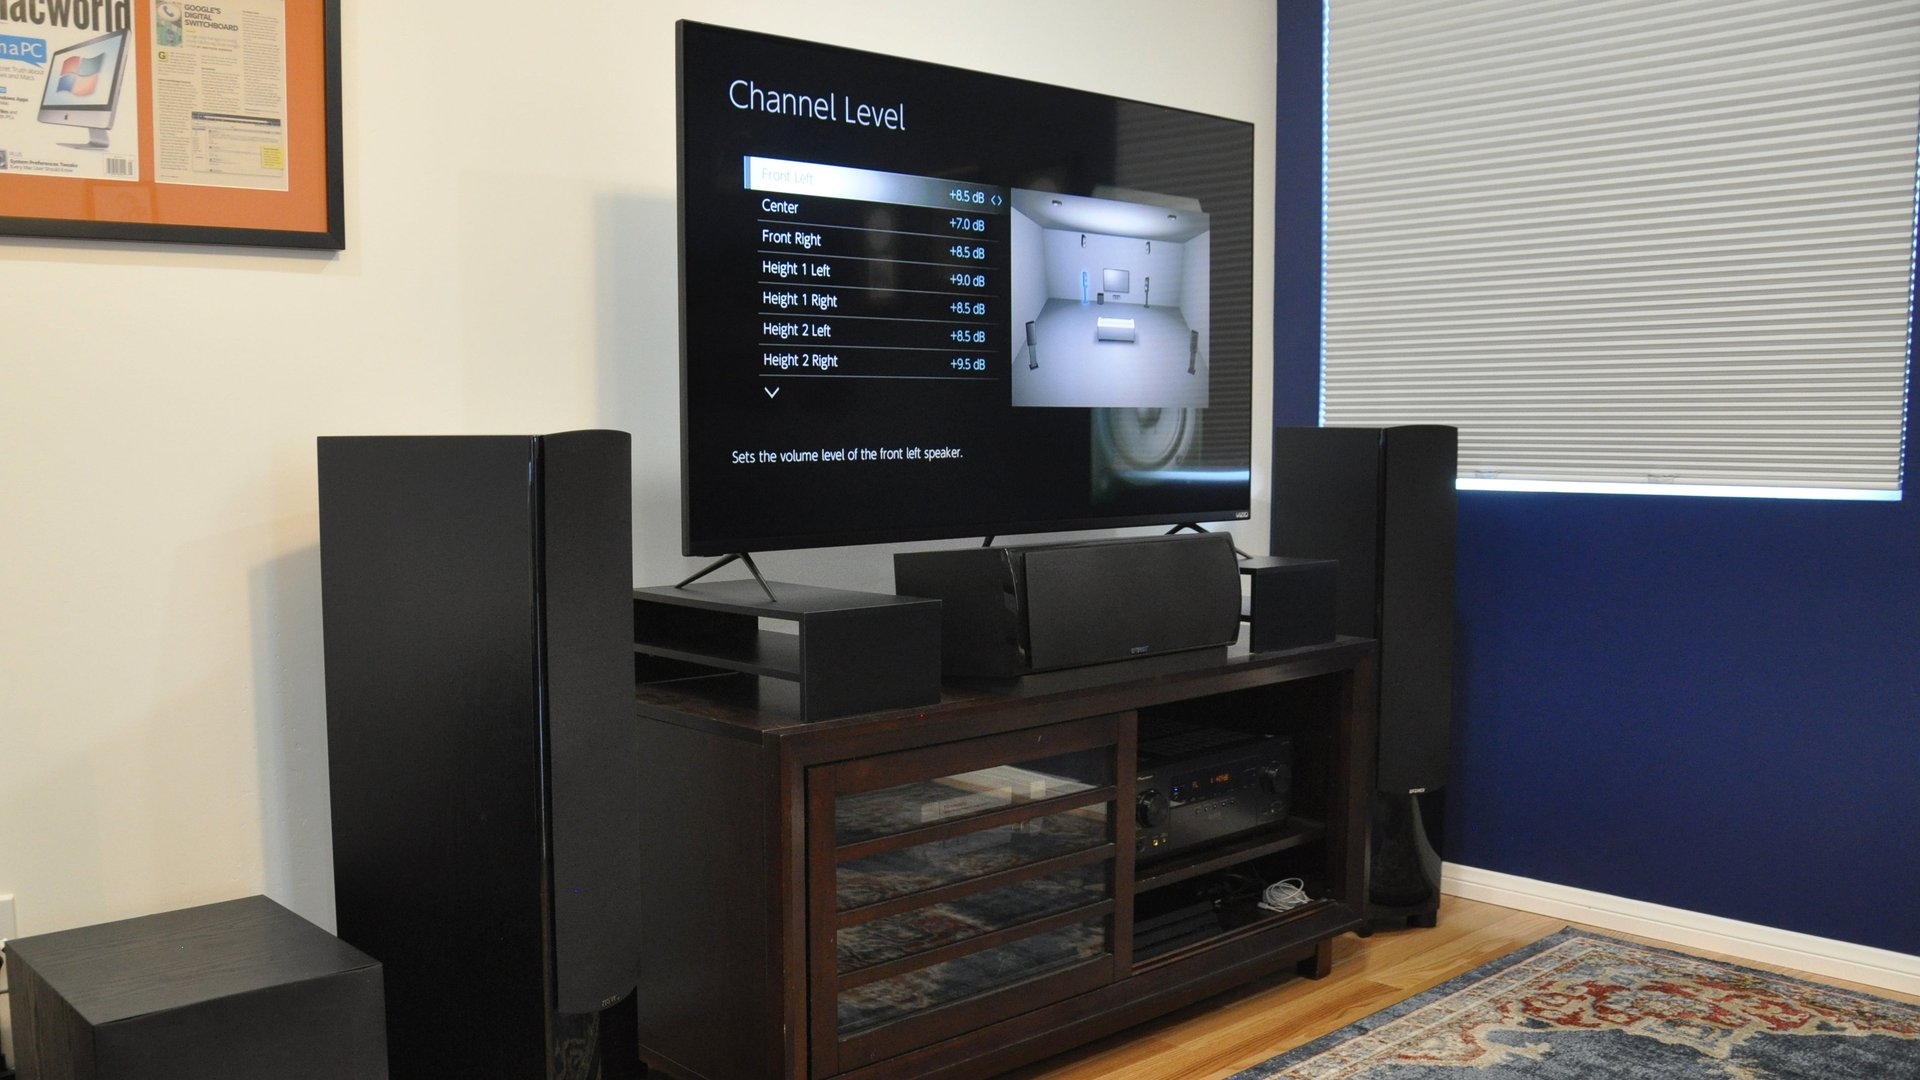
Note that you can feel free to adjust this to your own tastes. For example, if you have trouble hearing the dialogue, feel free to bump up the center channel a couple notches. I found that two of my height channels needed one extra click from where my auto-calibraiton put them, and of course, you can feel free to adjust the bass to your liking if the 75dBC level feels too low (or high).
Don’t worry if this all sounds complicated—once you get into that menu, you’ll find that the process only takes a few minutes, and when you’re done you’ll have a much more balanced, enveloping surround sound system.
