RECOMMENDED: Rage Cleaning
Over the weekend, I caught up with a friend who said she felt like she was forgetting what it is she likes to do, what things she would do that make her feel anything at all. I felt that, and I bet many of you reading felt that too.

Over the weekend, I caught up with a friend who said she felt like she was forgetting what it is she likes to do, what things she would do that make her feel anything at all. I felt that, and I bet many of you reading felt that too.
Suggested Reading
I told her that when this confinement started, when we were all worried and scared but hadn’t yet felt the full effect of our entire routine and way of living being upended on top of being worried and scared, I made a list of projects I wanted to get done around the house. That list has already saved me several times from that lethargy she described (“Oh! Hmm I do believe I am depressed/anxious/bored/something I can’t put my finger on, and so I shall now vacuum the floor of the closet!”)(I really did vacuum the floor of the closet, you guys.)
Related Content
I’m making my way through the list faster than all of this seems to be wrapping up, but there’s one project I’ve saved for the proverbial rainy day: Scrubbing my pots and pans until they shine like the top of the Chrysler Building. I saved it because I knew a day would come when I would get really fucking angry and, without access to the usual ways I rely on to express rage (the gym, tequila shots, deviant sex acts with guys from Tinder), I’d need something else.
Enter: Rage Cleaning.
Rage Cleaning requires a very specific kind of task. Cleaning makeup brushes, for example, won’t satisfy rage cleaning needs—but cleaning hairbrushes? Oh sure. There’s a sweet spot of elbow grease and tediousness that’s required to satisfy a Rage Cleaning itch; here are some examples of the form.
Rage Clean Your Pots & Pans

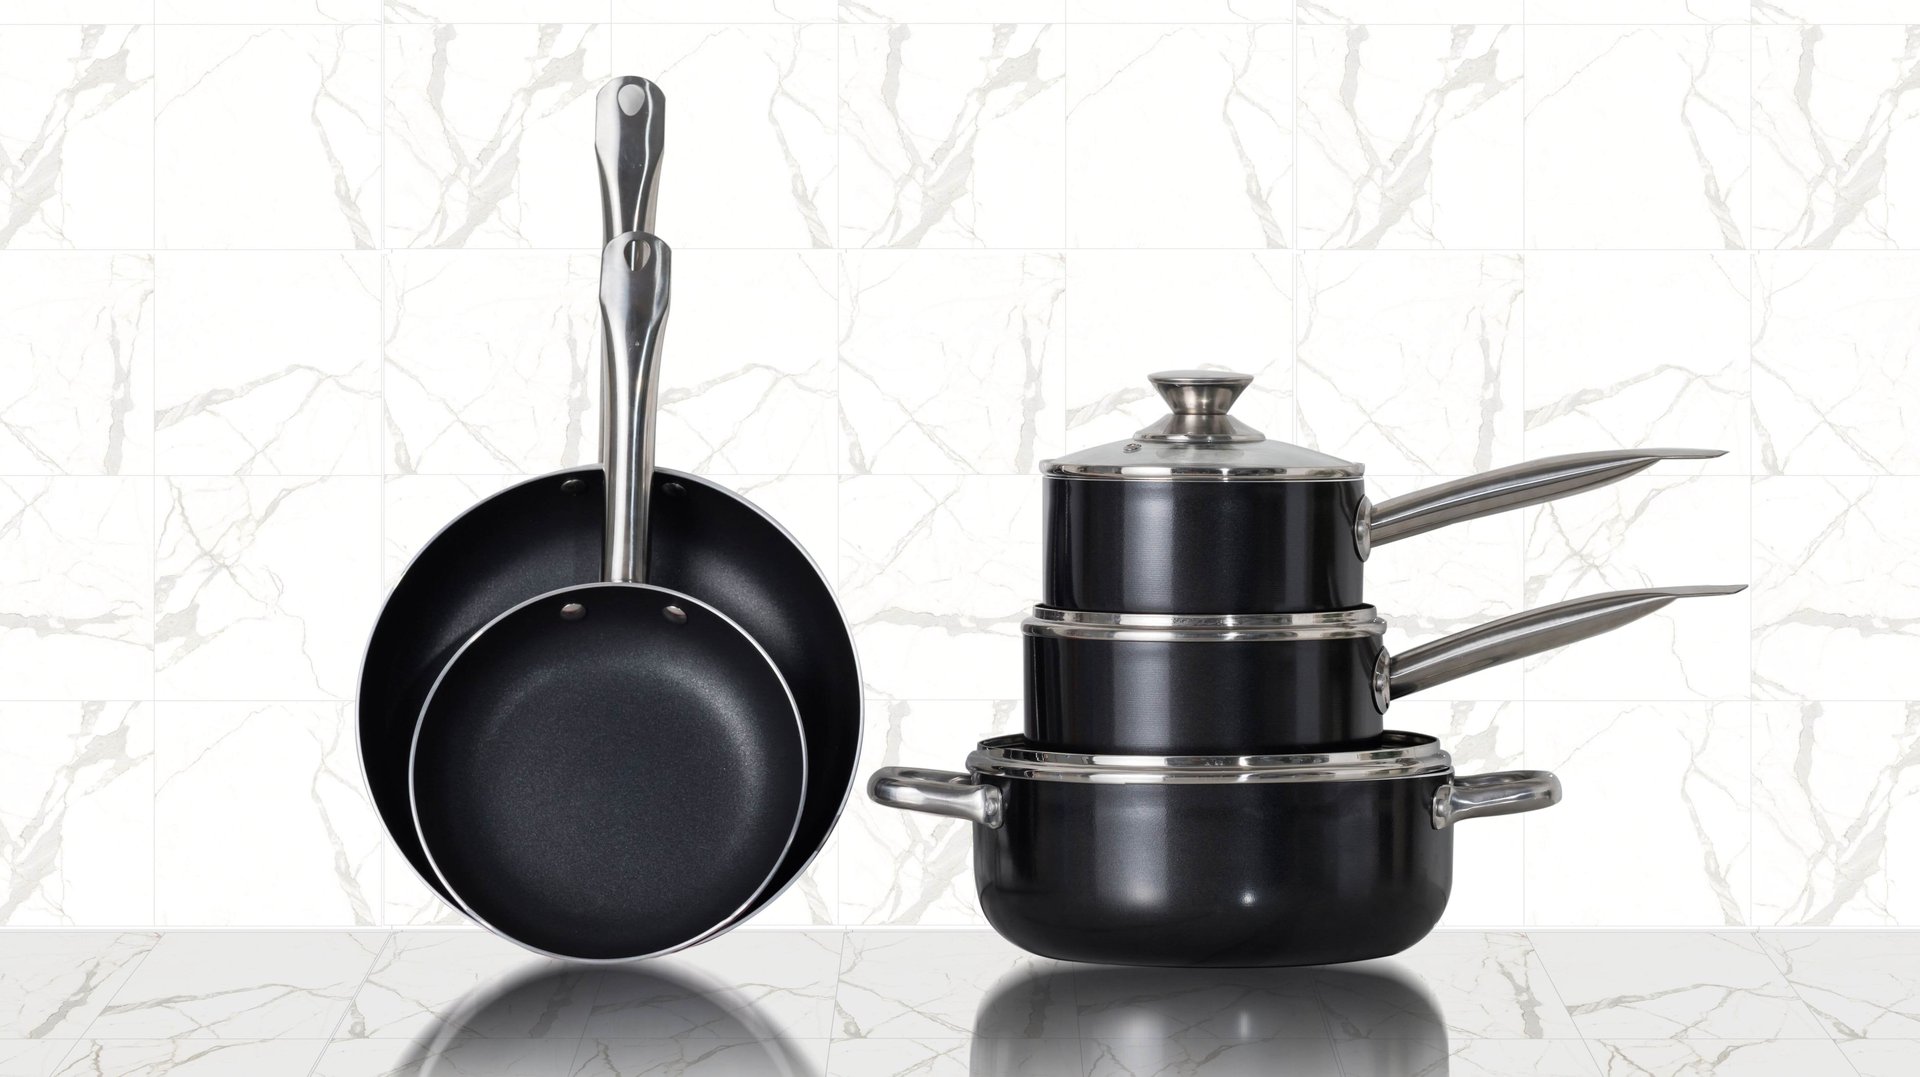
In my normal life, shining my pots and pans isn’t a priority. At all. But this isn’t normal life! Here’s the method for shining stainless steel pots and pans so that they look brand new.
- Get the pan hot—this is important! It doesn’t need to be, and shouldn’t be, scorching hot but it should be hot enough that you pull your finger away quickly when you tap it.
- Minding your hands so you don’t get burned, scrub the hot pan with baking soda and a damp scrub sponge (you do need a scrub sponge, but be sure not to use something too abrasive or it will scratch).
That’s all there is to it! Except it does require quite a bit of elbow grease, which will also have the added effect of letting you channel some rage. And then, after you’ve scrubbed and sweated and raged, your stainless steel pots and pans will be so incredibly shiny and that will also feel good.
Rage Clean Some Grout
My method for cleaning grout without resorting to using a toothbrush is an oldie but a goodie, and worth revisiting now.
The short version goes like this:
- Mix a scoop of the OxiClean with a quart to a gallon of hot water.
- Pour the Oxi solution in a thin layer on the floor, being careful not to flood the place—using a bowl or a pitcher with a spout and pouring the solution on the floor in an S-shape can help you to control how much liquid you’re introducing to the floor.
- Apply the solution in sections, working from the back of the room toward the door. As you apply the Oxi solution, use a scrub brush to spread it evenly on the floor and work it into the tile and grout. This should be a low-effort scrub though, because ...
- Once the floor is entirely covered in a thin layer of the Oxi solution, leave it be for 30-60 minutes—the solution is going to penetrate the grout and dirty tile and do most of the heavy lifting for you.
- When time’s up, use a damp scrub brush to give the floors a good, well, scrub. Work out some of your rage! Then, use a sponge, microfiber cloths, or a mop and clean water to wipe the solution up. As the grout dries, you’ll start to see bright, clean grout emerge, and you will be happy.
Rage Iron Some Linens
In normal life, pressing sheets and pillowcases was a task—much like shining my posts and pans—that I just was never going to make time for, nope, no chance. And I LOVE the feeling of pressed sheets and pillowcases!

But last week I needed something, anything to occupy my mind during a bout of ennui and I decided to set up my ironing board, grab the can of starch that had literally collected dust (I cleaned it, you guys) and press some sets of pillowcases while starting a Sopranos rewatch. And you know? It felt good.
Ironing linens is pretty straightforward, but there are some tips that will make the process easier:
- Press linens when they’re slightly damp — either take them out of the dryer before they’re fully dry or mist them with water to dampen them before pressing — using a high heat setting on the iron.
- Use spray starch! God, I love starch. It will help your linens stay crisp and it also gives them more heft, which will give you that hotel bed experience.
- Flat sheets are cumbersome to iron because of their size, but folding them lengthwise into quarters makes the process totally manageable.
- Do the same with fitted sheets, but also secure the corners over the ironing board, which keeps the elastic from fucking things up as you’re trying to iron.
